
Creating images with AI is already a huge advantage for brands, making content production faster and more efficient. But what if you could refine those images even further? With MorningAI’s Edit feature, you can personalize, enhance, and fine-tune your AI-generated visuals to match exactly what you need.
Today, we’re going to walk you through how to use Edit inside MorningAI.
Step 1: Generate an Image
- Click on Studio from the left-hand menu.
- Navigate to Brand Imagery and select Text to Image.
- Enter your brief to describe the image you want to generate.Example: A pear sitting on a kitchen countertop with a blurred background, taken during the golden hour.
- If you want to refine the image before generating, click the filter icon on the top right of the briefing console and adjust the settings.
- Click Generate to create your images.

Once your images are ready, hover over them, and you’ll see the Edit button in the bottom right corner. Click it to access MorningAI’s editing tools.
Step 2: Editing Features
1. Remove Background
Need to work with a single element? Click Remove Background, and MorningAI will automatically isolate the subject from the background. This is useful for product images, graphic design projects, or layering elements in different settings.
2. Repaint
This feature lets you brush over specific areas of your image and replace them with something new.
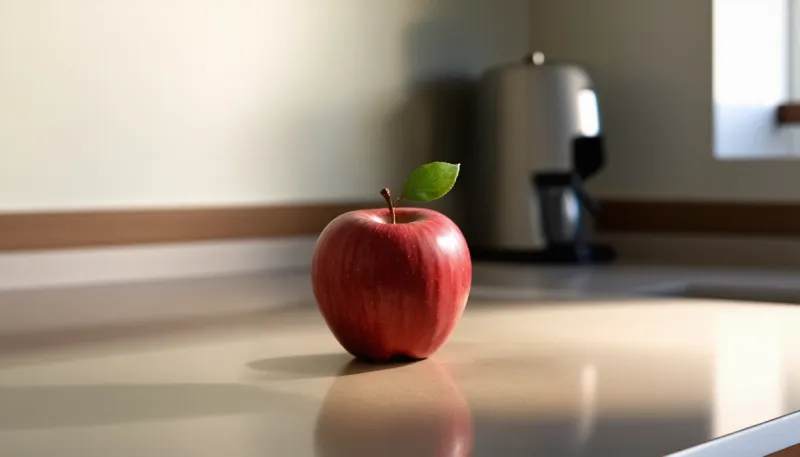
- Example: Paint over the pear in the image and brief the AI to generate an apple instead.

This is the result we got:
3. Search & Replace
Change objects in your scene with a simple search.
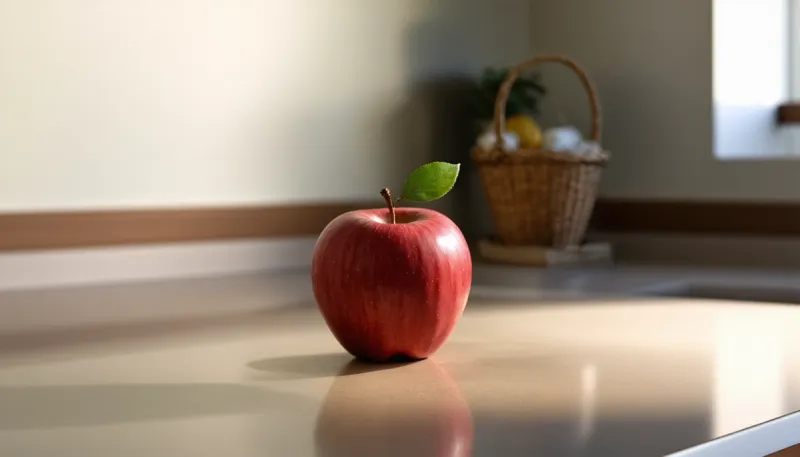
- Example: Search for a coffee machine and replace it with a wicker basket.

This is the result we got:
4. Aspect Ratio
Resize and reframe your image for different formats.
- Example: Convert a horizontal image into a square format.

This is the result we got:

MorningAI’s Edit feature gives you complete control over your AI-generated images. You can refine details, swap elements, and iterate as many times as needed, with no limits. Unlike other AI tools, Morning AI lets you keep adjusting until you achieve the perfect result.
Now it’s your turn to start editing. Try it out, and if you need any help, your dedicated Customer Success Specialist is always available to guide you.
The Unified Edit Image Flow (July 2026)
As of July 2026, editing in Image Studio runs through a single Edit Image action. Describe the change you want, mark the areas directly on the image, and choose whether an AI edit handles it instantly or a professional retoucher takes it on.
The edit modal was redesigned along the way: tool panels are now collapsible, the manual tools are back where you expect them, and you can attach reference images to show exactly the look you are after.
One change to note: the standalone Search & Replace tool described above has been retired. Its use cases are covered by the unified Edit flow — mark the object, describe the replacement, and apply an AI edit. For work that needs a human eye, see how to request retouch work in Image Studio →
